Stop throwing away ‘ugly’ furniture
We’ve all seen it. A solid wood dresser sitting on the curb because the finish is a bit scratched or the color is a hideous 1990s orange-oak. Most people see trash. In 2026, the ‘upcycling’ pro sees a $500 piece of furniture hiding under $10 of bad varnish.
If you’re a beginner, the biggest mistake you can make is over-complicating your first project. You don’t need a workshop full of power tools. You just need patience and the ability to follow the ‘Golden Rule’ of upcycling: The finish is only as good as the prep work.
Project 1: The ‘No-Sand’ Chalk Paint Refresh
If you’re terrified of sandpaper, this is your starting point. Chalk paint is the beginner’s best friend because it sticks to almost anything—even that weird laminate ‘fake wood.’
Take a small side table. Clean it with TSP (Trisodium Phosphate) to get the oils off. This is the part people skip, and then they wonder why the paint peels. Once it’s clean, paint it. But here’s the ‘human’ tip: don’t aim for a perfect, factory-smooth finish. It’s impossible with a brush. Embrace the texture. Once it’s dry, hit the edges with a bit of sandpaper to give it that ‘distressed’ look. Finish it with wax. It’s a Saturday afternoon project that will give you the confidence to move on to the big stuff.
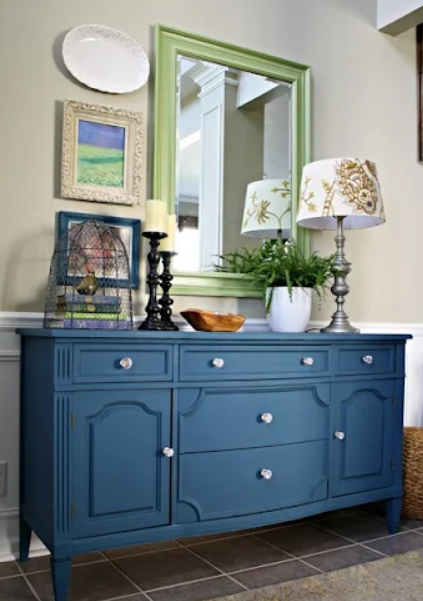
Project 2: The Hardware Swap (The 5-Minute Transformation)
I’ve seen $50 IKEA dressers look like $1,000 designer pieces just by changing the handles. In 2026, hardware is the ‘jewelry’ of the home.
Find a piece of furniture with generic plastic or silver handles. Go on Etsy or hit a local vintage market and find heavy brass, leather, or even hand-painted ceramic knobs. The unspoken rule? If the new handles require new holes, use a ‘wood filler’ that matches the paint you’re going to use. It takes five minutes, but it’s the difference between a ‘DIY project’ and ‘Custom Furniture.’
Project 3: The Geometric Masking Tape Update
This is for the person who has a piece of furniture that is structurally fine but visually boring. Maybe a plain white desk.
Buy high-quality painter’s tape. Create a large, bold geometric pattern across the front of the drawers. Paint inside the tape lines with a bold, contrasting color—maybe a deep forest green or a matte black. The secret to those ‘crisp’ lines? After you put the tape down, paint over the edge of the tape with the *original* color of the furniture first. This ‘seals’ the tape. Then, when that’s dry, paint your new color. When you pull the tape off, the lines will be perfect. It’s a professional-level trick that cost you zero extra dollars.

The Truth about Sanding
Eventually, you’re going to have to sand something. Don’t be afraid of it. In 2026, we have ‘Detail Sanders’ that are cheap and easy to hold. The ‘insider’ secret to a professional finish is to never skip a grit. If you start at 80, you have to go to 120, then 180, then 220. If you jump from 80 to 220, you’ll see ‘pigtail’ scratches in the wood the moment you put stain on it. It’s tedious, but it’s the only way to get that ‘glass-smooth’ feel.
Why Upcycling is the Future
In 2026, ‘Fast Furniture’ is becoming a social taboo. It’s made of sawdust and glue, and it ends up in a landfill in three years. Old furniture was built to be repaired. When you upcycle, you’re not just saving money; you’re preserving craftsmanship. Plus, there is a deep, psychological satisfaction in sitting at a desk that you brought back to life with your own hands. Start small. A chair. A box. A shelf. Just start.