DIY Furniture Makeover Ideas for Beginners: Give Old Pieces a New Life
We’ve all seen it: a solid, well-made piece of furniture at a garage sale or in a grandparent’s attic that is ‘ugly’ but has potential. Maybe the wood is scratched, the color is dated, or the handles are hideous. Instead of buying new, low-quality furniture from a big-box store, you can use DIY techniques to transform these ‘diamonds in the rough’ into custom, high-end pieces. Furniture flipping is not just for professionals; with a few basic tools and some patience, any beginner can achieve stunning results. Here is a guide to the best furniture makeover ideas that will save you money and give you a unique home.
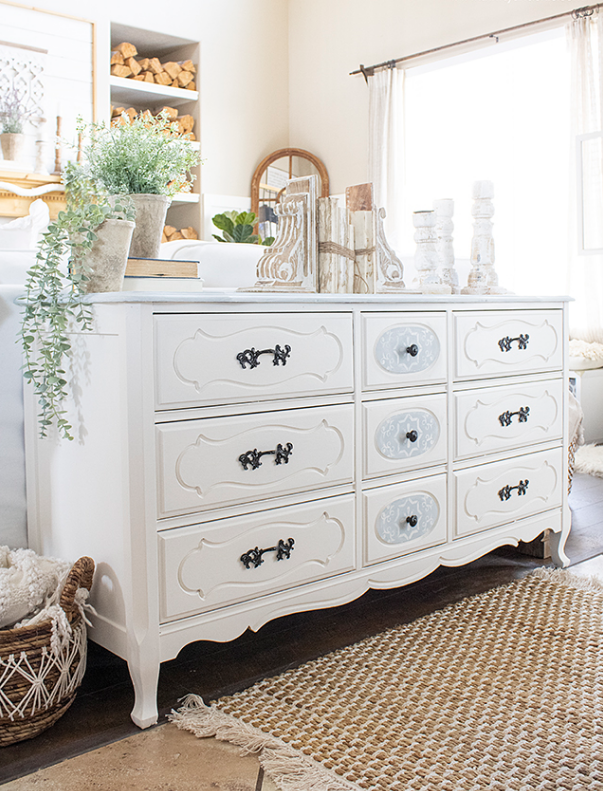
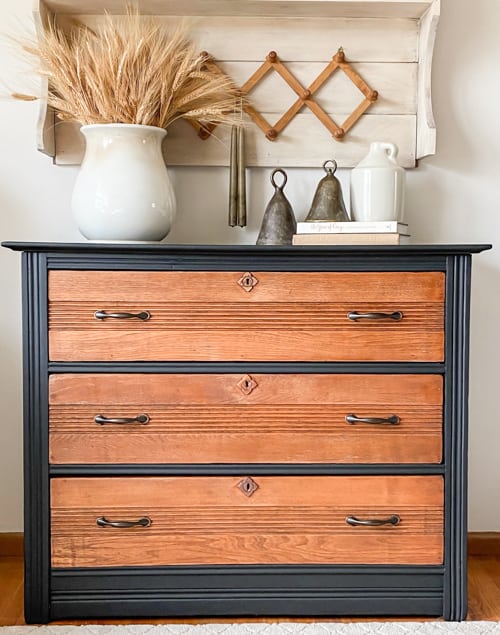
1. The Power of a Professional Paint Job
Paint is the most common furniture makeover tool, but doing it right is the difference between a ‘DIY look’ and a ‘Designer look.’ For beginners, ‘Chalk Paint’ is a miracle. It requires almost no sanding or priming and sticks to almost any surface. For a modern look, choose matte black, deep navy, or forest green. If you want a ‘shabby chic’ look, you can lightly sand the edges after painting to create a distressed effect. Always finish with a clear wax or poly-crylic topcoat to protect your work from scratches and water rings.
2. Reupholstering Chair Seats
If you have a dining chair with an ugly fabric seat, don’t throw it away. Reupholstering a flat seat cushion is one of the easiest DIY projects. All you need is a screwdriver, some new fabric, and a heavy-duty staple gun. Remove the seat, wrap the new fabric tightly around it, and staple it to the underside. You can transform a set of six chairs in less than an hour for the price of two yards of fabric. This is a great way to introduce bold patterns or luxury textures like velvet into your room without a huge commitment.
3. Swapping Legs for a Modern Silhouette
Sometimes the ‘body’ of a dresser or cabinet is fine, but the base looks dated. You can buy ‘mid-century modern’ wooden legs or sleek ‘hairpin’ metal legs online for very little money. By unscrewing the old base and adding these new legs, you change the height and the ‘vibe’ of the entire piece. This is particularly effective for IKEA hacks or older ‘boxy’ dressers. It lifts the furniture off the ground, making your room feel larger and more open.
4. Contact Paper and Washi Tape Magic
If you aren’t ready for paint and power tools, use ‘contact paper.’ Modern adhesive vinyl comes in stunning marble, wood grain, and concrete finishes. You can apply this to the top of a scratched coffee table or the inside back of a bookshelf for an instant transformation. It’s waterproof and removable, making it perfect for renters. Similarly, using gold Washi tape to create geometric patterns on a plain white drawer can add a ‘designer’ touch for literally pennies.
5. Adding Trim and Moulding
To make a plain, flat-pack wardrobe or dresser look like a high-end built-in, add some ‘trim.’ You can buy thin strips of wood (moulding) at a hardware store, cut them to size, and glue them to the drawer fronts to create a ‘shaker’ or ‘picture frame’ look. Once painted, the furniture looks like it was custom-made by a carpenter. This ‘architectural’ detail adds depth and character that cheap furniture usually lacks.
Conclusion: Start Small and Stay Creative
The best way to learn DIY is to start with a small, low-risk project like a nightstand or a stool. Don’t be afraid to make mistakes—most things can be sanded down and repainted! Furniture makeovers are incredibly satisfying because they combine sustainability with creativity. You are keeping items out of the landfill and creating something that no one else has. Grab a brush, find an old table, and start your DIY journey today!