The 2026 Home Studio: It’s not about the gear anymore
I’ve seen people spend $5,000 on a ‘pro’ setup only to have their recordings sound like they were made in a tin can. Then I’ve seen teenagers with a $200 mic and some old blankets win awards. Why? Because in 2026, the ‘Professional’ label isn’t something you buy at a store—it’s something you engineer through acoustics and signal chain knowledge.
Whether you’re podcasting, recording vocals, or just wanting to be the person with the best audio on Zoom calls, the rules have changed. Here is how you build a studio that actually sounds professional without needing a second mortgage.
Phase 1: The ‘Acoustic First’ Rule (The part everyone skips)
The most expensive microphone in the world will sound terrible in a room with bare walls. Sound waves are like bouncy balls; they hit hard surfaces and fly everywhere. This is called ‘slapback delay,’ and it’s the #1 killer of pro audio.
Before you spend a dime on electronics, look at your walls. You don’t need that expensive ‘egg crate’ foam (which actually doesn’t do much for low frequencies). You need mass. Bookshelves filled with books are great natural diffusers. A heavy rug on the floor is essential. If you’re on a budget, the ‘Blanket Hack’ still works in 2026: hang heavy moving blankets or even thick winter duvets behind your recording position. You want to create a ‘dead zone’ where the sound goes to die, not bounce back into the mic.
Phase 2: The Microphone Myth (XLR vs. USB)
For years, the advice was: ‘Start with USB, upgrade to XLR later.’ In 2026, that advice is outdated. High-quality XLR interfaces (like the Scarlett series or the new AI-integrated Volts) have become so affordable that there is no reason to buy a USB mic unless you’re strictly a hobbyist.
Why XLR? Because it separates the ‘microphone’ part from the ‘computer interface’ part. This allows you to upgrade your sound without throwing away your whole setup. For a pro sound, look at a Dynamic microphone (like the Shure SM7B or its many 2026 competitors) if your room isn’t perfectly quiet. Dynamic mics are ‘deaf’ to the neighbor’s lawnmower or the hum of your PC. If you have a perfectly treated, silent room, go for a Large Diaphragm Condenser for that ‘crisp’ high end. But for 90% of home users, a Dynamic mic is the secret to a clean, radio-style sound.
Phase 3: The ‘Signal Chain’—Secret of the Pros
In 2026, we have access to ‘Real-time DSP’ (Digital Signal Processing). This means you can add EQ, compression, and a ‘gate’ to your voice *before* it even hits your recording software. This is what makes a voice sound ‘expensive’—that thick, warm, consistent tone you hear on top-tier podcasts.
Don’t just record ‘dry’ and try to fix it later. Use a software mixer (like Elgato’s Wave Link or specialized VST hosts) to clean up your audio in real-time. A light ‘Noise Gate’ will cut out the background hiss when you aren’t talking. A ‘Compressor’ will make your quiet whispers and loud laughs the same volume. This is the difference between an amateur and a pro.
Phase 4: Lighting is 70% of Video Quality
If your home studio includes video (and in 2026, it almost always does), stop looking at new cameras and start looking at lights. A $2,000 Sony camera will look like a $50 webcam in a dark room. Conversely, a cheap webcam looks incredible with a proper ‘3-Point Lighting’ setup.
1. **Key Light:** Your main light, placed at a 45-degree angle to your face. Make it soft (use a diffuser or a softbox).
2. **Fill Light:** A lower intensity light on the other side to fill in the shadows.
3. **Back Light (or Rim Light):** This is the ‘pro’ secret. Put a light behind you, pointing at your hair or shoulders. This ‘pops’ you out from the background and gives the image depth. Without it, you look like a flat image stuck to the wall.

Phase 5: Ergonomics and Cable Management
A professional studio shouldn’t look like a spaghetti factory. Cable management isn’t just for ‘aesthetic’—it prevents interference. Keep your power cables away from your audio cables. If they have to cross, make them cross at a 90-degree angle to minimize ’60-cycle hum.’
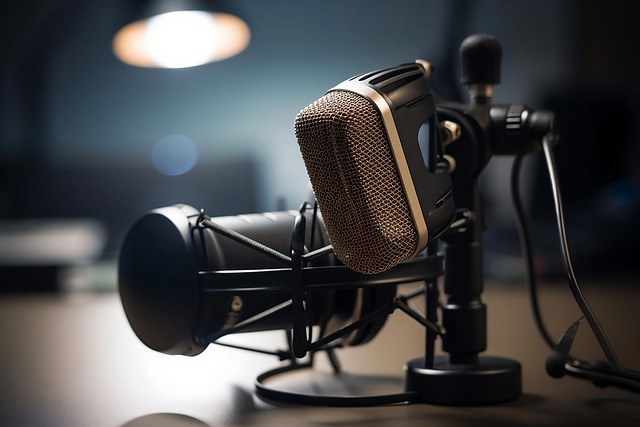
And please, invest in a boom arm. Holding a microphone or having it sit on a desk stand where it picks up every keyboard click is amateur hour. A boom arm lets you position the mic perfectly (usually 2 to 4 inches from your mouth) and keeps your desk clear for your notes or coffee.
Summary: The ‘Pro’ Mindset
A professional home studio is a system, not a collection of boxes. It starts with the room, moves to the signal chain, and finishes with the lighting. In 2026, the technology is so good that you have no excuses. Focus on the basics—acoustics and lighting—and your ‘home’ studio will sound and look better than most corporate offices. Stop buying gear, start building an environment.